Arches National Park has been on my bucket list for a few years. I finally had the chance to visit last month. It was everything I hoped it would be! The scenery is absolutely incredible! Here is a guide to visit this amazing park.
Location:
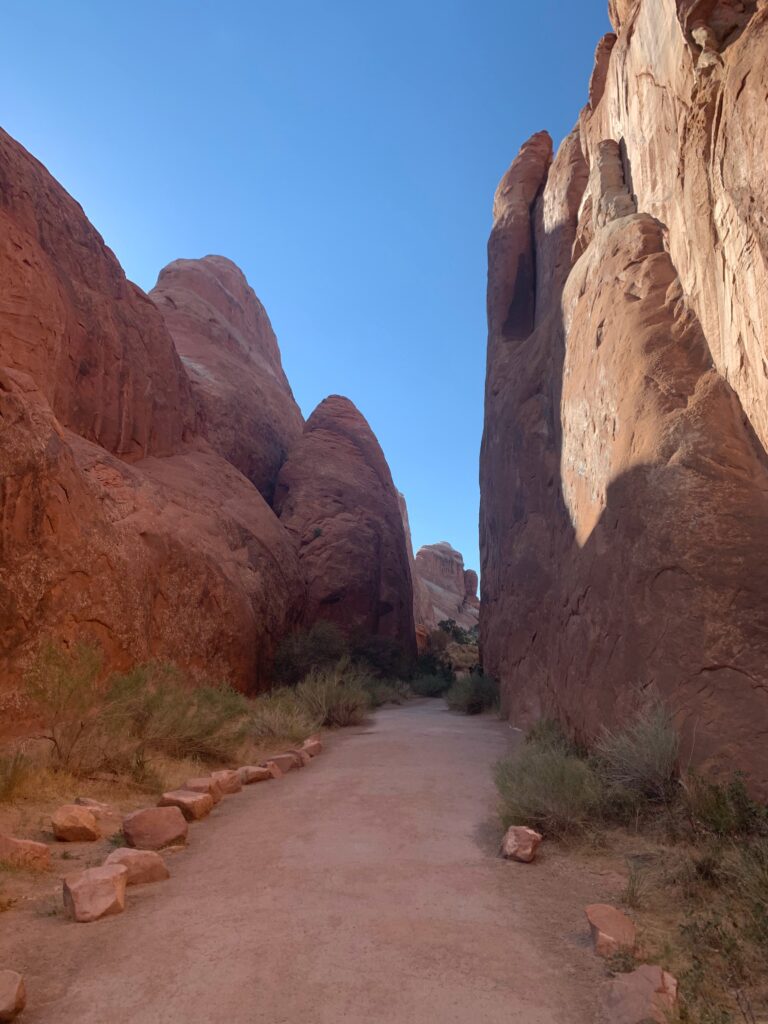
Arches National Park is located in Utah close to the Colorado border. A little south of Interstate 70 by the city of Moab. Moab is a good base for getting to the park.
Nearest Airports:
- Salt Lake City- 4 hour drive
- Denver- 5 1/2 hour drive
- Las Vegas- 7 hour drive
I recommend doing a whole Utah road trip, so you can see other amazing places here. Canyonlands National Park is nearby and Capitol Reef is 2 1/2 hours away.
Best Time To Go:
For weather, the spring and fall are the best times to visit Arches National Park. More specifically April, May, September and October. These months can also bring crowds because the weather is so nice.
Arches is in a desert region which can bring scorching heat in the summer. Many days average over 100 degrees between June and August! Winter can have harsh cold weather.
If arriving on a weekend or during a holiday, get there early!!! The entrance to get into the park can get backed up, sometimes causing an hour delay. If it’s crazy crowded, the park will turn people away when it reaches capacity. It’s recommended to arrive before 8 am.
The park is open 24/7. Visitor Center hours vary.
Cost:
The park charges a $30 entrance fee per car that is good for 7 days.
If you will travel to at least 3 National Parks during the year, I recommend getting the America the Beautiful pass. It’s $80 for entrance to every US national park and monument for an entire year. It’s a great value!
What to Bring:
- Water- This is no joke! It’s in the desert and it’s recommended to drink at least a gallon of water a day.
- Sunglasses – There is minimal shade in this park and your eyes will thank you!
- Hat- That desert sun is strong!
- Sunscreen- Again, there is minimal shade in this park.
- Snacks- There are no food options provided in the park.
- Camera- This park is made for photography!
- Tripod- For the perfect shot.
- Hiking shoes/ boots- Some of the coolest arches require a hike.
What To Do in Arches National Park:
Visitor Center:
The Visitor center is immediately on your right after passing through the entrance gate. This is a great place to talk to the park rangers if you have any questions. Be sure to check out the exhibits, get your passport book stamp and maybe grab a souvenir at the gift shop. There are nicer restrooms here and a place to fill your water bottle.
Scenic Drive:
The main road through the park is a little over 17 miles. The scenery is beautiful from the car and there are many places to stop along the way.
Park Avenue Viewpoint:
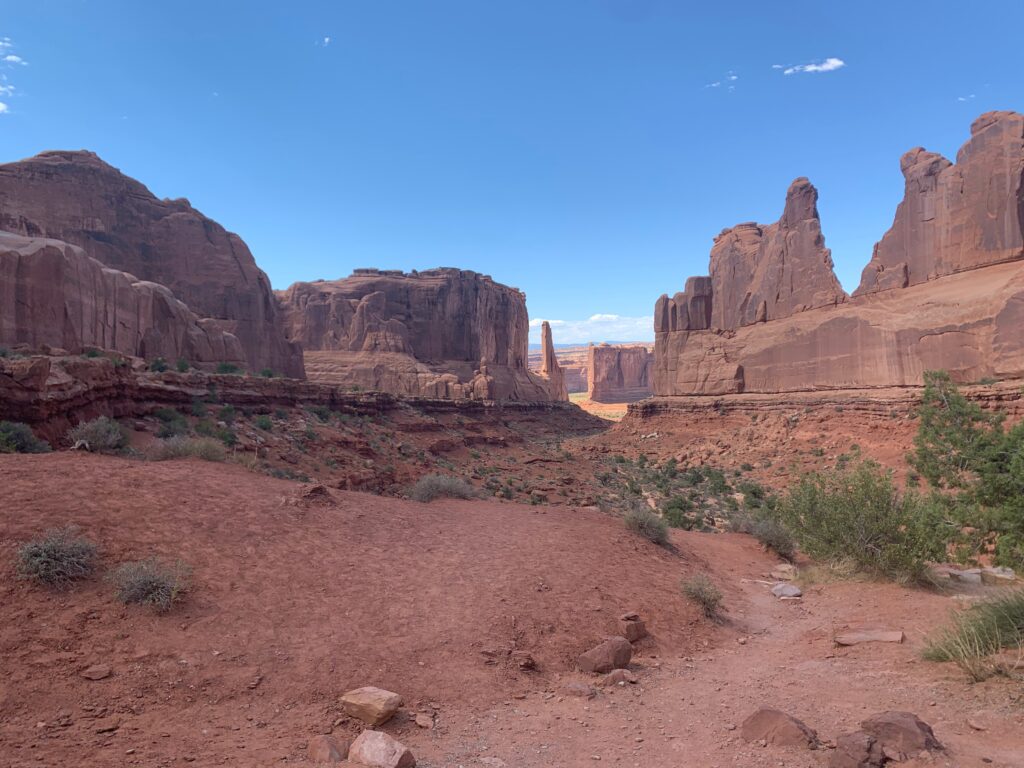
The first stop is Park Avenue. The view is incredible! There’s a trailhead for the Park Avenue trail which is 2 miles round trip.
Balanced Rock:
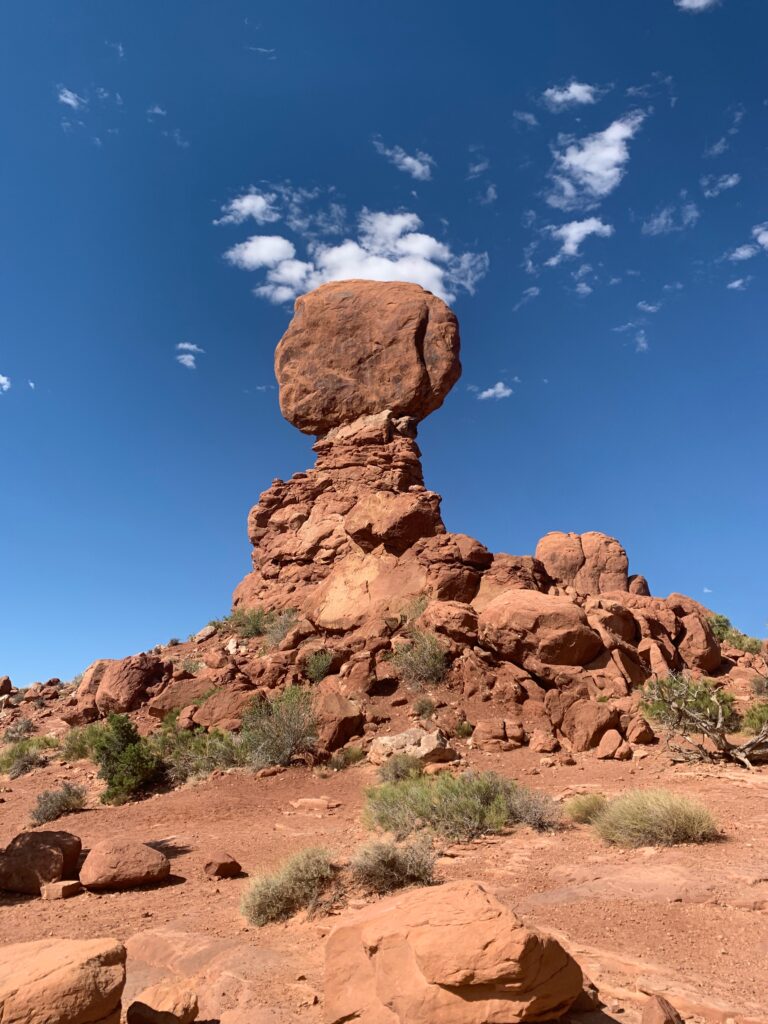
This is one of the most photographed areas of the park. It’s a .3 mile walk around the base.
Windows Section:
The Windows Arch can be seen from the parking lot. It does require a short hike to see them up close. Plus Turret Arch is right there as well. A 1.2 mile hike will get you close to all three arches!
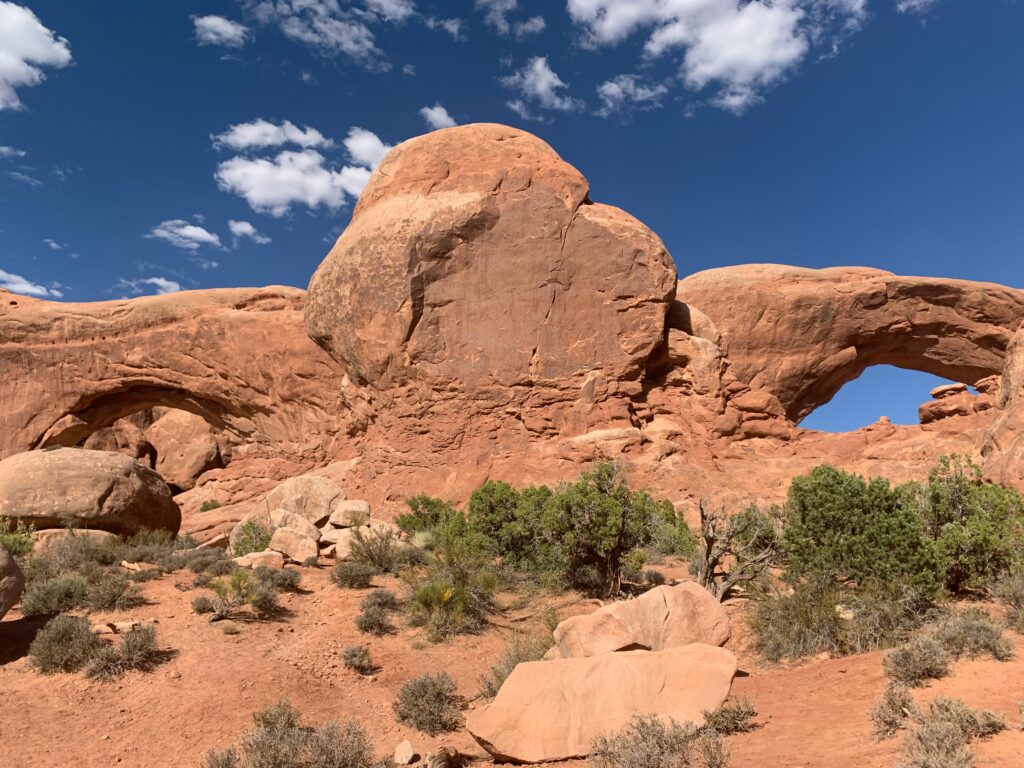
Double Arch is in the same area and can be seen from the parking lot. It requires a .5 mile hike to get close to the arch. Highly worth it for getting great photos!
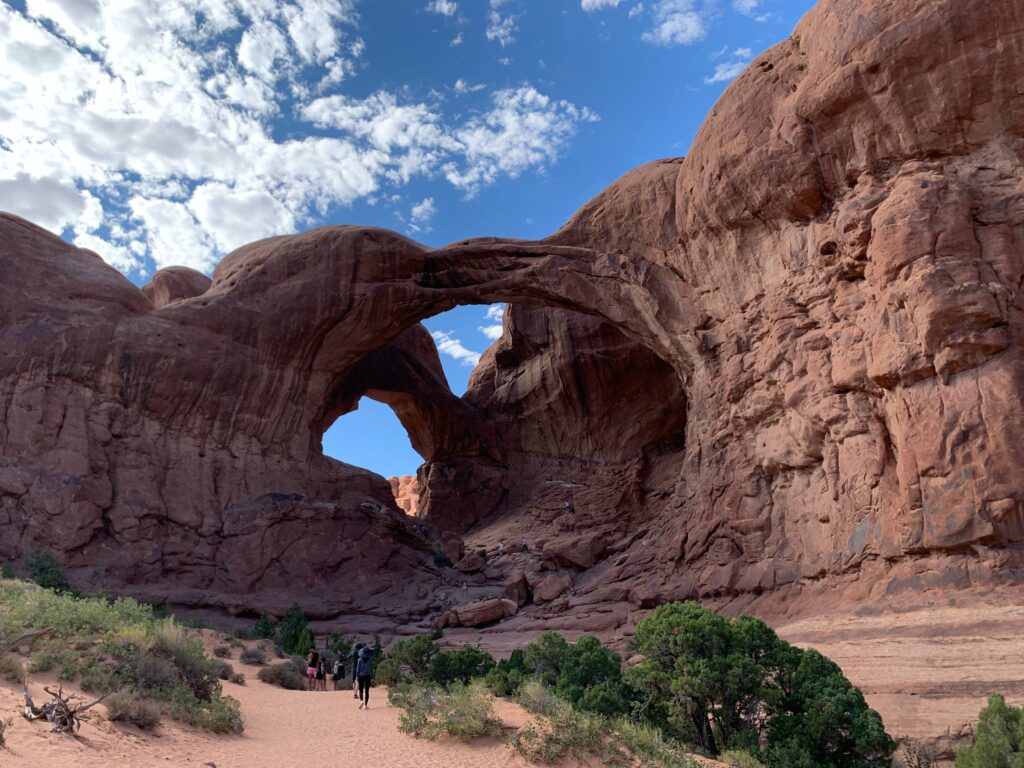
These arches are very popular, so expect crowds here.
Delicate Arch:
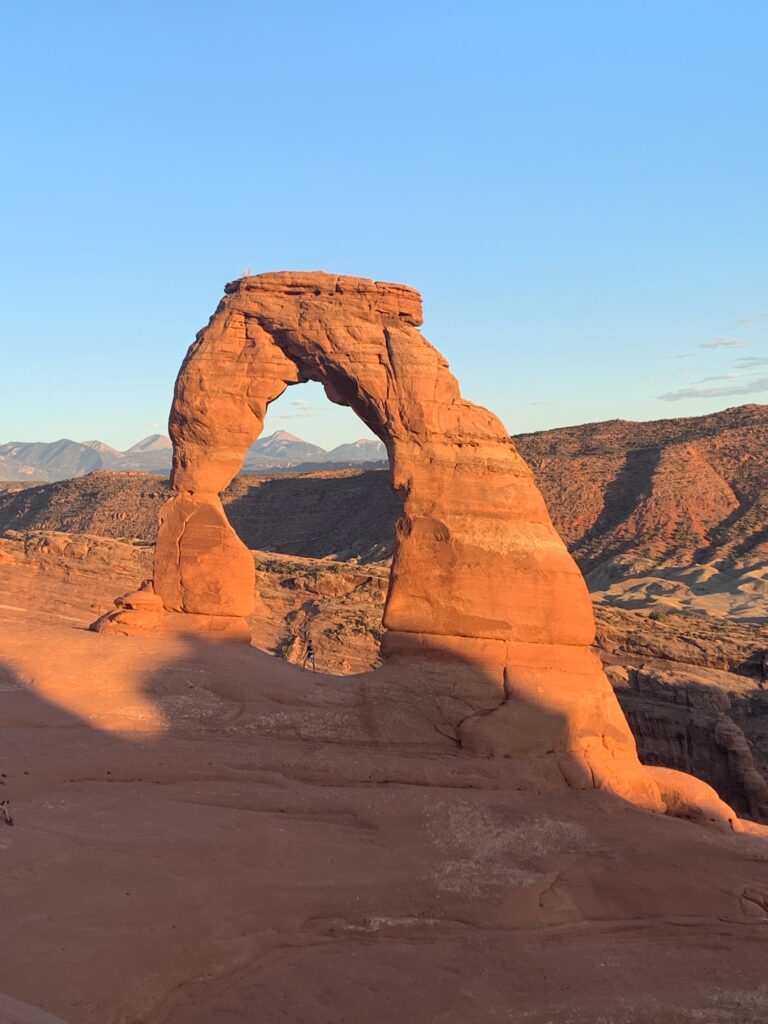
This is the iconic arch in the park. Which translates to being very popular!! It does require a 3 mile hike to see the arch up close. I highly recommend doing this hike!
There are two view points for those that can not hike as far. The lower viewpoint is a 100 yard walk and has wheelchair access. The upper viewpoint requires a .5 mile hike.
Devil’s Garden:
It’s located at the end of the main road through the park. This is the only area besides the visitor center to refill your water! Great place to use the bathroom as well.
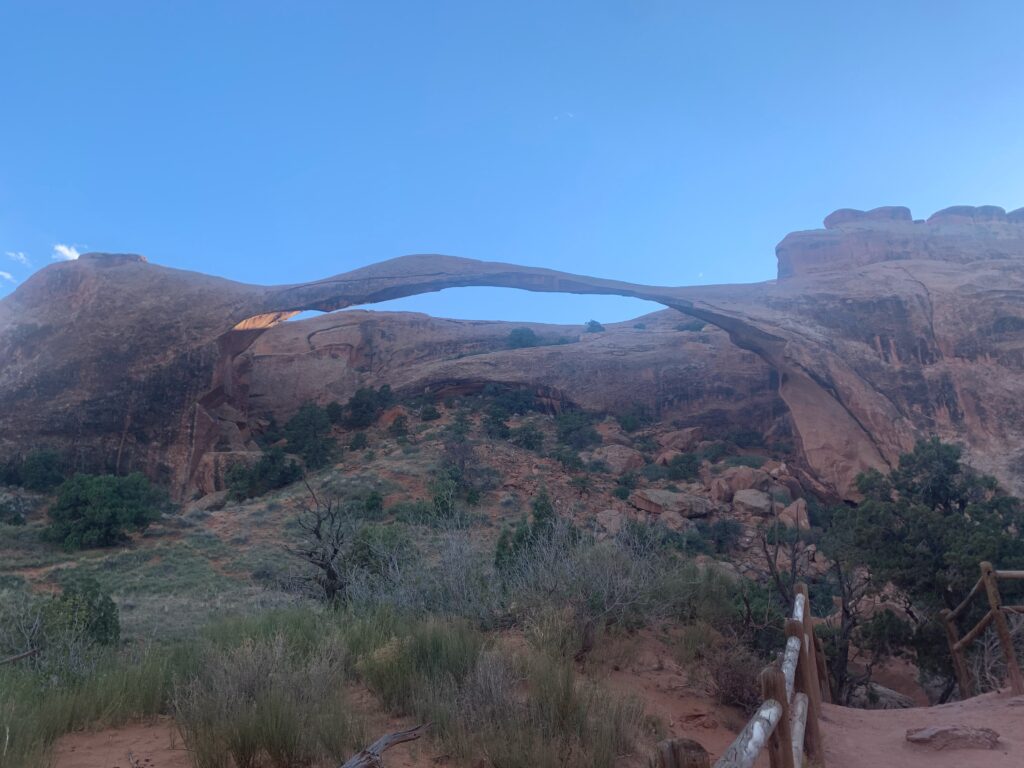
The Devil’s Garden trail starts here. Seven arches can be seen from this trail! If you do the entire trail it is 7.9 miles. I’ve only hiked to the Landscape Arch, but I plan on doing the whole trail next time!
Hiking:
Hiking is plentiful here! There are trails for all abilities. 15 minutes to half a day.
Camping:
There is one campground in Arches National Park. It is located in the Devil’s Garden area. Between March 1st and October 31st all campsites are by reservation. The campgrounds usually remain full during this time. The rest of the year they are first come first served.
The campsites are $25 a night.
Photography:
Seriously this is a photographer’s dream! Check out the National Park’s Site for more detailed info on the best places to get the perfect shot.
Stargazing:
Arches is an International Dark Sky Park. That means the stars are amazing at night!!! Check the park website and newsletter for the moon phases and meteor shows projected for the year.
Lodging:
Moab is a great hub for visiting Arches National Park. It’s only 10 minutes away and there’s something for every budget.
There are many small local hotels & resorts and bigger chain hotels like Best Western Plus. A quick search showed me that the hotels range from $99 to $500 a night. I enjoyed my stay at the Best Western Plus and would recommend it. I did stay during Covid. They had a grab and go breakfast, which I believe is normally a hot buffet style. And the pool was closed.
If a hotel doesn’t fit your budget, Moab has many camping options as well. Private campgrounds to camping on federal land for free!
Or if you want something in between, my favorite is glamping! There are a few different places for this option as well.
The best thing about Arches is that you can see a lot in a limited amount of time. On the other hand, there’s enough to keep you busy for days! I highly recommend seeing this amazing park!

[…] Ultimate Guide to Arches National Park […]